Playing Fortnite on a controller can sometimes feel like a daunting task when other players use a mouse to aim with. But we’re here to tell you that the right settings can instantly transform your game! If you’re struggling to hit those long-range shots, feel like your builds are too slow, or just can’t track that sweaty opponent in a box fight, we’ve got you covered.
Our guide will break down the best pro-inspired controller settings that give you the perfect balance of speed, precision, and consistency. These aren’t just random numbers – they are the sweet spot that top players use to get those Victory Royales. Ready to stop feeling sluggish and start feeling like a superstar? Let’s dive in!
Best Fortnite Controller Settings for Max Performance
Finding your perfect settings is always a little personal, but this table provides a strong foundation and a balanced starting point. These values are highly recommended by competitive players for maximizing your aim and building efficiency.
| Setting Category | Individual Settings | Value | Why It Works? |
|---|---|---|---|
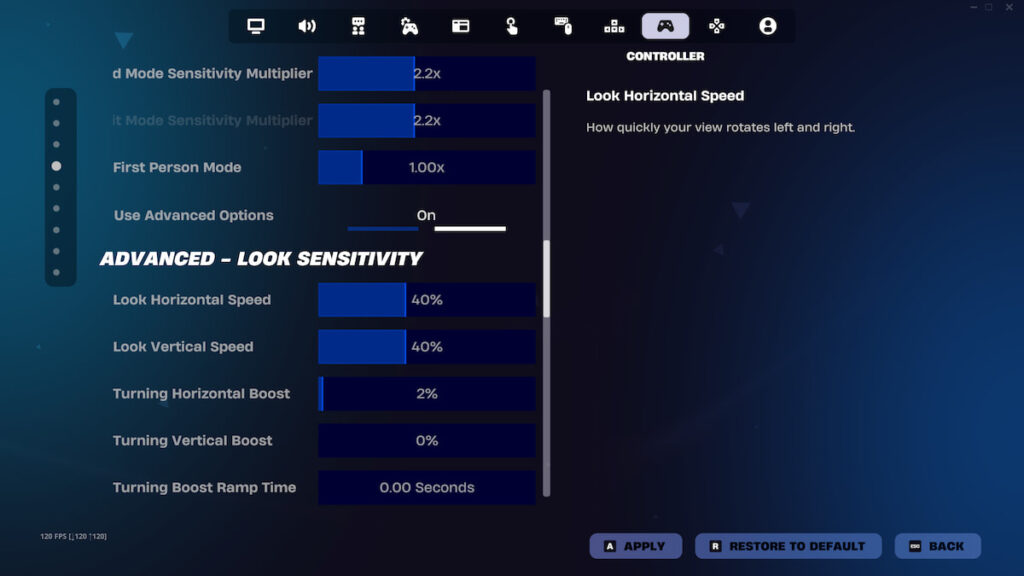
| Look Sensitivity | Look Horizontal Speed Look Vertical Speed | 35% – 45% | Allows for fast 180-degree turns, vertical looks, and quick scans. Adjust based on your comfort level. Start lower if you feel erratic. |
| Aim Sensitivity (ADS) | ADS Look Horizontal Speed ADS Look Vertical Speed | 8% – 14% | Critical for precision! A low value allows for stable, accurate tracking and beaming targets at a distance. |
| Build/Edit Speed | Build Mode Sensitivity Multiplier | 1.8x – 2.1x | A higher multiplier than your Look Sensitivity is useful for fast building and keeping up in build fights. |
| Build/Edit Speed | Edit Mode Sensitivity Multiplier | 1.9x – 2.2x | Allows for lightning-quick edits. Should be equal to or slightly higher than your Build Multiplier. |
| Advanced Settings | Look Input Curve | Linear | Favoured by most pros. Provides raw, instant response, making close-range aiming and editing feel more snappy. |
| Advanced Settings | Aim Assist Strength | 100% | Maximize the built-in tracking help you get on a controller. |
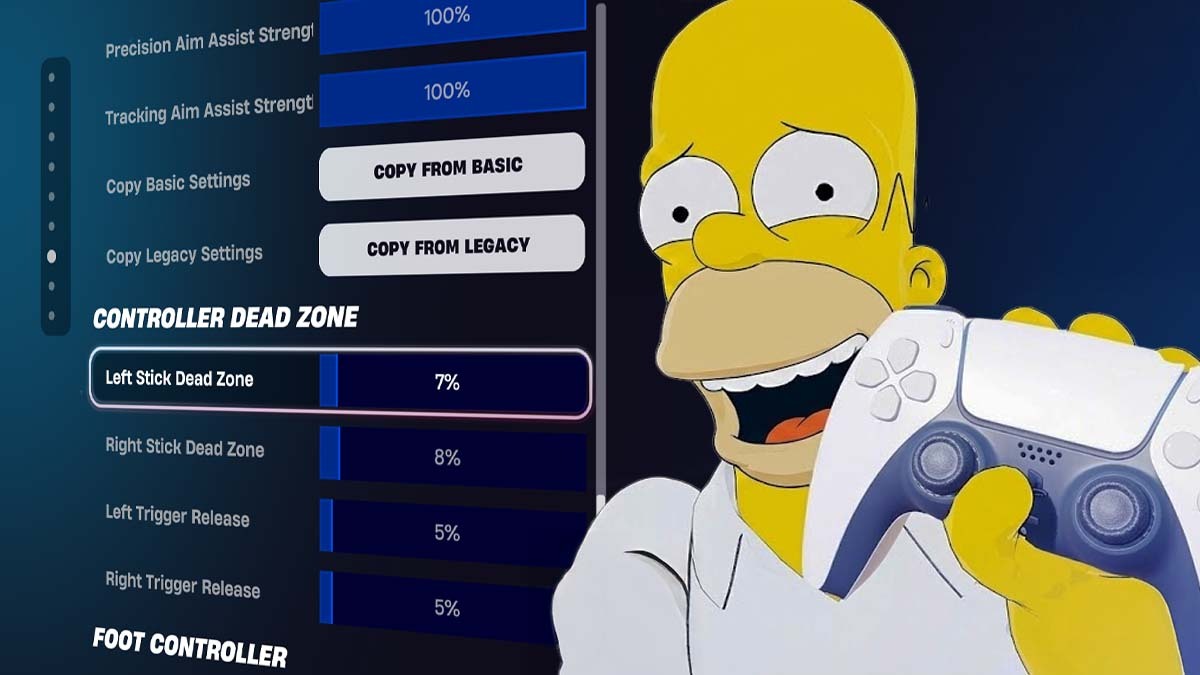
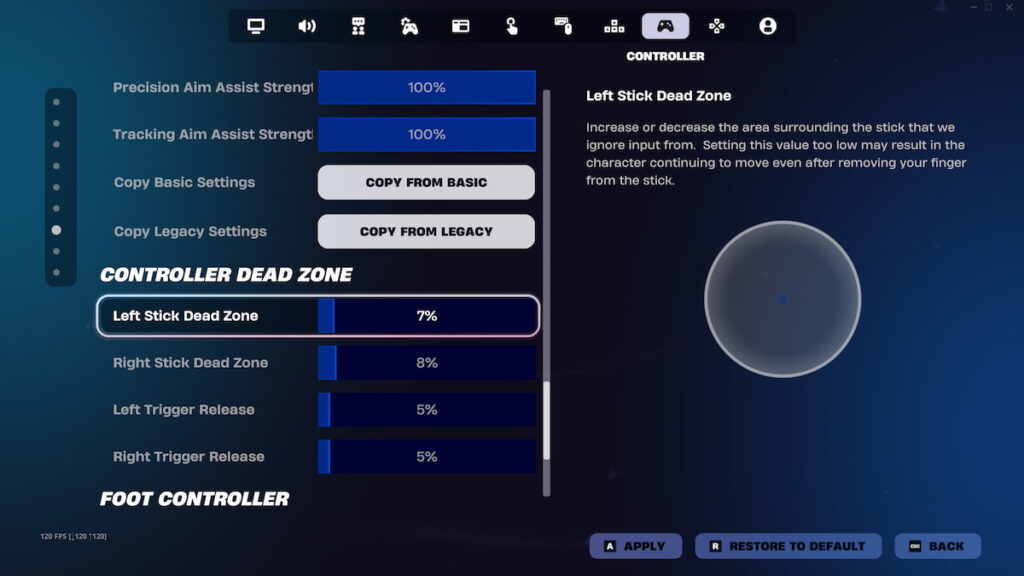
| Controller Deadzone | Left Stick Deadzone Right Stick Deadzone | 5% – 8% | Prevents unwanted “stick drift” (movement when you aren’t touching the stick). Set it to the lowest value possible without drifting. |
| Key Gameplay Options | Auto-Open Doors | Off | Prevents you from accidentally walking through doors during a frantic build-off. |
| Key Gameplay Options | Confirm Edit on Release | On | The most important setting for speeding up your edits! It confirms the edit the second you release the edit button, eliminating a second button press. |
| Key Gameplay Options | Vibration | Off | Keeps your aiming stick perfectly steady and minimizes distractions during combat. |
Using Linear vs. Exponential Curve
This is one of the biggest questions for Fortnite controller players! The Look Input Curve determines how your thumbstick movement translates to in-game camera movement. The two primary options are Linear and Exponential.
Linear is favoured by most professionals because it provides a direct, 1:1 response. If you push the stick 50%, your character turns at 50% of the maximum speed. This raw, instant response is better for close-range fights, quick flicks, and fast editing, making your gameplay feel more responsive. However, it can be slightly harder to make micro-adjustments and aim precisely at very long ranges.
In contrast, Exponential uses an acceleration curve where the speed ramps up as you push the stick further. A small push results in slower, finer movement, while a full push is very fast. This ramping makes long-range aiming and tracking easier due to the smoother, initial slower movement, but it can make the game feel sluggish and less reactive for quick builds and close-quarters combat. Our advice is to start with Linear. Its superior responsiveness is currently “meta”, where close-range fighting and fast building are everything.
How to Find Your Perfect Deadzone
The Deadzone is the small area in the center of your analog stick where movement is ignored. It’s designed to combat “stick drift,” which occurs when your aiming crosshair moves on its own without you touching the stick. Setting your deadzone correctly enables steady aim.
To test this, first go into Creative mode. Set both the Left Stick Deadzone and Right Stick Deadzone to 5% and then let go of your sticks. If your crosshair or character moves without you touching the controller, you have stick drift. You should then increase the deadzone by 1% at a time (6%, 7%, etc.) until the unwanted movement completely stops. Remember, the lower the deadzone you can manage without drift, the more responsive and precise your sticks will be! Keep it as low as your specific controller allows.
Recommended Console Controller Settings
For console users looking to maximize their performance on PlayStation, Xbox, or Switch, the most vital changes go beyond general sensitivity. Builder Pro should be the default binding preset for efficient building. For advanced edits, remapping your Edit button from the default B/Circle to a stick click (like L3/LS) can improve your speed. Furthermore, players on PS5 and Xbox Series X|S should prioritize enabling 120 FPS Mode for a massive performance boost, and all console players should turn Visualize Sound EffectsON for a competitive advantage by displaying a visual indicator for nearby audio cues.
There you have it, the ultimate breakdown of the best controller settings to give you a true competitive edge in Fortnite. Remember, these settings are just a starting point. The real magic happens when you take them into Creative mode and practice! Don’t be afraid to slightly adjust settings, such as the Look or ADS Sensitivity up or down by a few percent until it clicks. Consistency is key, and once you find what feels right, stick with it.
After tweaking your Controller settings, it’s time to set up your Graphics Settings next! Also, check out the Best XP Maps in Fortnite and how to get free V-Bucks.